
Do you want your website visitors to compare products or services instantly before and after conversion? If you want to compare before and after versions of any image and compare them with a sliding feature, you are in the right place. There are other ways to create an image comparison slider, but one of the best ways is to use a Divi module. It is easy to use and very eye-soothing for your customers. This impressive element allows you to showcase side-by-side comparisons, differences, progress or transformations.
Whether you are a designer, marketer, photographer, or business owner, an image comparison slider is essential to highlight your products or services. With this solution, visitors can quickly move the slider to see the difference between your product images and interact with your website content.
In this article, I will show you how to create an image comparison slider using a Divi module. Now, let’s explore this in depth.
Table of Contents
What is an Image Comparison Slider in Divi?
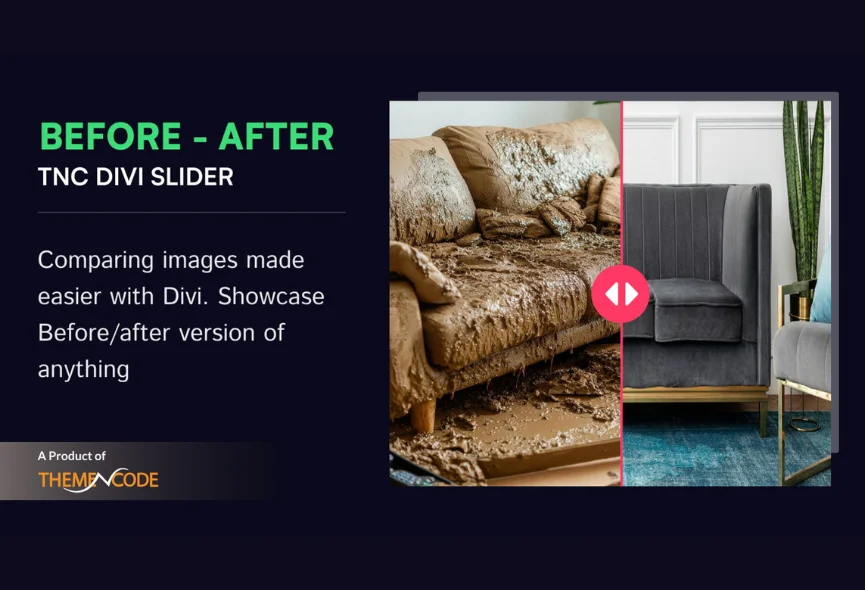
An image comparison slider is a simple tool showing two images side-by-side. You can slide a bar across the images to compare them. It allows users to slide a divider to reveal different portions of each image. This is great for showing how something has changed, like a before-and-after image or comparing two products. This unique feature provides an engaging way to highlight differences and similarities.

Choosing Right Divi Module
A perfect image comparison module depends on your specific needs and preferences. When choosing a module, you must consider factors such as ease of use, features, customization options, and cost. Apart from this, you can read reviews from others or watch module videos.
There are many options available. According to our research, “Divi Before After Slider TNC” is the best image comparison for the Divi website. You can do your research and compare this module with its competitors to get the best results. Considering these factors, you can choose the best module for creating beautiful image comparison sliders that improve your Divi website.
How to Get Divi Before After Slider TNC
You can easily find and install this addon just like any other plugin. Let’s see the step-by-step instructions:
- Enter the elegantthemes marketplace or Click Here.
- Search for “Divi Before After Slider TNC” in the search bar.
- Once you find the plugin, click “Buy Now”.
- Once you have downloaded the plugin, log in to your website admin panel.
- Select the plugin zip file you downloaded and install it.
- Go to Plugins in your WordPress admin panel and activate the plugin.
How To Use Divi Before After Slider TNC?
Once you install the Divi Before After Slider TNC, it integrates with your Divi Builder interface. Here’s how to do it:
- Open Divi Builder: Create a new page or edit an existing one.
- Locate the Module: Find the “Divi Before After Slider TNC” section in the Divi Builder sidebar.
- Upload Images: Add your before and after images to the module’s settings. Try to add high-quality images.
- Customize: You can adjust the slider’s appearance, transition effects, and other settings to create the perfect visual comparison.
- Publish: Save and publish your page to showcase your stunning before-after comparisons.
Best Features of Divi Before After Slider TNC
Responsive Design: Divi Before After Slider TNC ensures your comparisons look great on any device, from desktop computers to tablets and smartphones.

Customization Options: You can customize the look of your slider to match your brand and website style. You can customize design elements to create a cohesive look.

Integration: Easily add before-after sliders to your Divi layouts with drag-and-drop functionality.

Performance Optimization: This module is designed to deliver fast loading times and smooth interactions for a positive user experience.

Support & Updates: When you choose Divi Before After Slider TNC, you can access exceptional support from the ThemeNcode support team.
Versatile Use of Image Comparison Module
The image comparison module is suitable for any website. Image comparison sliders can significantly improve user experience and engagement on your website. You can use it for different purposes. Let’s check some of these categories.
- Real Estate
- E-commerce
- Design
- Photography
- Education
- Marketing & Advertising
- Travel and Tourism
- Gaming
- Fitness and Health
- Personal Projects
- Healthcare
Why Choose Divi Before After Slider TNC?
Image comparison view is now more popular as it is an easy way to showcase the difference between two images. Divis Before-After Slider is an excellent module that shows how things change. This feature makes comparing products, highlighting a makeover, or a design process easy. It’s simple to use, looks great on any device, and helps you explain things more clearly.
Divi Before After Slider TNC is designed to improve the functionality of your website. It has multiple sliding orientations for an image. Its support for various image formats provides flexibility in presenting your content and ensures smooth transitions.
Conclusion
Image comparison sliders are a great way to show comparison on your Divi website. If you follow the steps in this article, you can create interactive sliders that engage your audience and get more impressions. Most important step is to select the suitable module based on your needs and skill level. Feel free to customize the look and functionality of your slider.
With Divi Before After Slider TNC, you can dynamically display before and after versions of images. This module is perfect for anyone, from seasoned developers to beginners. It’s simple to use, looks great on any device, and helps you explain things more clearly.
Don’t forget to follow ThemeNcode for exciting updates and more upcoming products.


0 Comments